Hello and welcome! Today I’m sharing my method for making Granny, the latest block in Angie @ GnomeAngel’s Farmer’s Wife 1930s Sewalong. I am really thrilled to be sharing a tutorial for this block as it’s perfect for my favourite Foundation Paper Piecing (FPP) technique. I’ve pieced all my other blocks so far but the small pieces and bias edges in this one make it a great choice for FPP.
The method I’m showing you today uses freezer paper as the foundation, but differs from the more traditional approach to Foundation Paper Piecing as you don’t sew through the paper. Instead you use the magical properties of freezer paper.. when you iron fabric to the shiny side of it, the fabric sticks like glue but can also be peeled away with no side effects. In this method, rather than sew through the paper, the paper is folded back along the seam line and you sew right next to that fold. When you’ve finished the freezer paper is simply peeled off. Which brings me to the HUGE advantage of this method, there are no papers to rip out when the block is finished.
Merran @123bluejumper taught me this method several years ago, I think it’s the best, I hope you try it and love it too!
If you’d like more detail than I’ve included below, then have a look at the two-part tutorial I wrote a few months back;
What you’ll need;
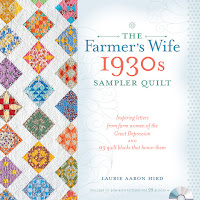
- A copy of the book The Farmer’s Wife 1930s Sampler Quilt: Inspiring Letters from Farm Women of the Great Depression and 99 Quilt Blocks That Honor Them by Laurie Aaron Hird for Fons & Porter/F+W; RRP $28.99 – Click here to purchase.
-
Usual sewing requirements
-
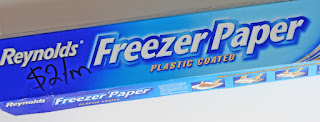
Freezer paper; available in supermarkets in America, in other parts of the world, look for it in your local quilt store, if you’re in Australia or New Zealand your local Spotlight should stock it, it’s also available on Amazon.
-
A stapler or washi tape.
So let’s get started..
Step 1: Print the paper piecing pattern pieces for block 41
The paper piecing pattern can be found on the CD at the back of your Farmer’s Wife 1930s Sampler Quilt book.
Step 2: Make freezer paper foundation templates
This block has eight templates but only two of them are unique, we’ll be reusing our freezer paper templates so you only need to make the two unique templates (I chose A and B). The two templates are mirror images of each other so I made my templates in one step by layering two pieces of freezer paper back to back (ie. one shiny side down, and one shiny side up), this way the two templates will be mirror images of each other.
-
Cut two squares of freezer paper large enough to cover the template pieces with room to spare.
-
Layer the two pieces of freezer paper, (one shiny side down, one shiny side up) behind the pattern print out.
-
Staple through the three layers (pattern on top) to hold the layers in place.
-
Sew along the template lines with the needle on your sewing machine (remove the thread). This gives you perforations along all the seam lines. See Step One here for more detail and photos of this step.
-
Trim back excess freezer paper from your templates. I add the 1/4″ seam allowance at this point using my ruler and rotary cutter.
-
Rethread your machine.
Step 3: Cut fabric
For foundation paper piecing always cut your fabric larger than required so that you can trim back later. I outlined the two large shapes on freezer paper then ironed these shapes to my fabric. I then cut around the shapes leaving a 1/8″ margin on all sides. This way I know my fabric is the right size and shape. The extra wiggle room helps when lining up fabrics and allows for trimming back later. Optional: I also took note of the block outside edge on my shapes so that I could make sure the straight grain was on the outside of my block.
-
For the two larger shapes cut two from each colour.
-
For the smaller inner triangles I cut rectangles 1 3/4″ by 1 1/2″ (four of each colour).
Step 4: Prepare to sew the first seam
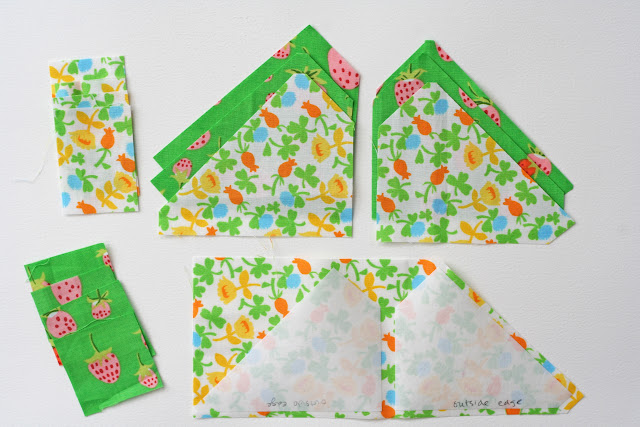
Because I had two freezer paper foundation templates, I worked on two sections at once. The photographs below show both sections.
- Iron the largest piece of fabric, wrong side down, to the shiny (sticky) side of your freezer paper templates. Position fabric so that it covers the template.
- Fold the template back along the seam line and trim excess fabric from that edge so that there is a 1/4″ seam allowance beyond the seam line. I use my rotary cutter and ruler for this step but you could also use scissors.
- Line up your centre fabric piece with this cut edge.
Step 5: Sew seam
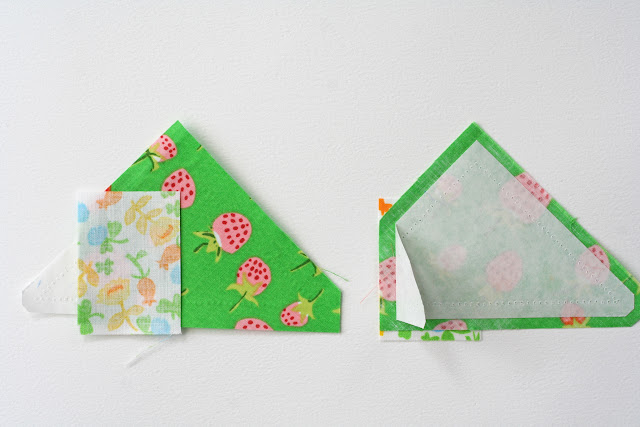
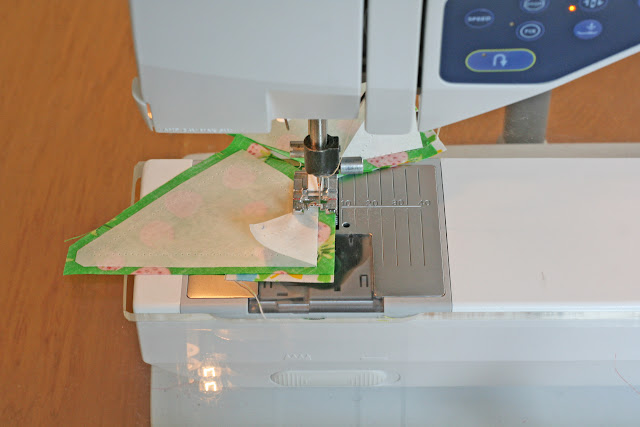
- Keep the freezer paper folded back along the seam line.
- Sew the seam as close as you can get to the paper without sewing over the paper. Use your normal stitch length.
- If you do sew through the paper, don’t worry, just gently pull the freezer paper away from the stitches before the next step.
Step 6: Finish pieces
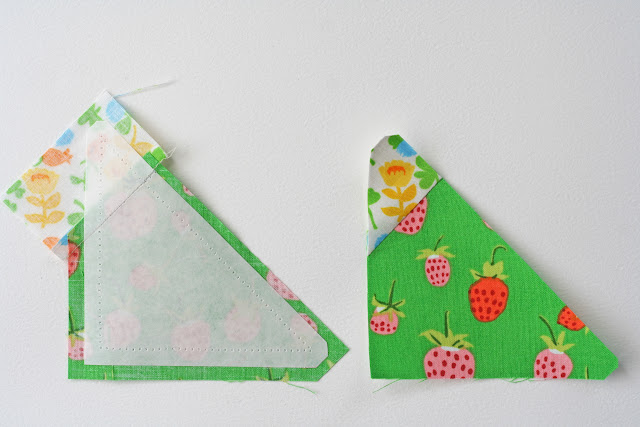
- Iron centre fabric to the freezer paper.
- Trim excess fabric from all edges.
- Gently remove freezer paper by peeling away from fabric.
Step 7: Repeat for remaining pieces
Repeat above process starting from Step 4, re-using the templates, until you have made all eight triangle sections.
Step 8: Sew block together
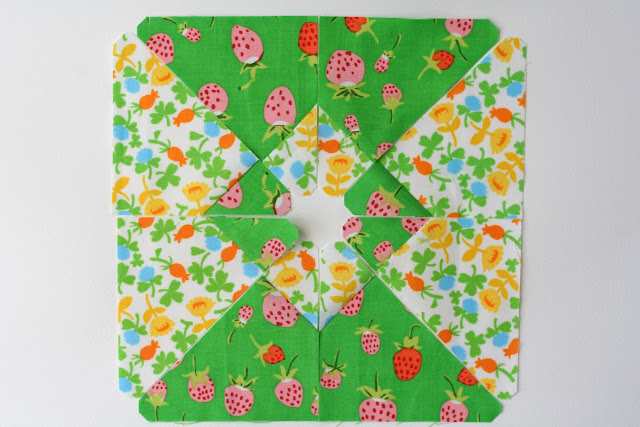
- Lay sections out as per block layout.
- At this point I changed the direction of some of my pressed seams so that the direction alternated around the block. This makes it easy to nest the seams as you sew them together.
- Sew pieces together, following the directions on the paper piecing pattern (note the order is different from that in the book, I recommend the order in the paper piecing pattern).
- Pin carefully
- Press these seams open.
Step 9: Finished block!
Hooray, we’re done! Stand back and admire your handy work! Don’t forget to share on Instagram (using #FQS1930farmerswife and #fw41granny), in the Flickr group and/or Facebook!
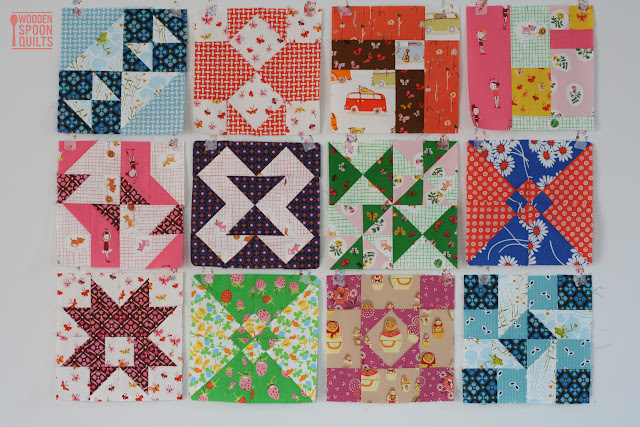
My blocks so far.
I hope you’re having fun and enjoying trying out new techniques!
For more information on piecing this block check Angie’s tutorial here and Marti Mitchell’s tutorial using her wonderful templates here. The Marti Mitchell conversion chart for this block can be found here.


12 thoughts to “Granny Tutorial: Block 41 in the Farmer’s Wife 1930s Sewalong”
Fantastic tutorial Rachel, really great. Loving ALL your blocks – so good to see them all together! x
Lovely fabric choises for These blocks and thanks for showing your method to sew this block 🙂
I really like your way of making this block!!! Thanks so much!!! All your blocks are fantastic!!
Now I've read this twice and I think I've got it. Thanks for sharing your clocks and awesome technique 🙂
Ha! I mean *blocks* not clocks :p
Thank you for this lovely, informative tutorial! One of the reasons I wanted to participate in this QAL was that I wanted to try new tecniques, and I have never seen this one demonstrated. I will try this!
Brilliant! I've used freezer paper before, but not like this. Love your idea.
I love the one with the vans the most;)
Your fabric choices are always the cutest!
I prefer neutral colors such as grey, white and blue.
Your blocks are so great, Rachel! HR and DS play really nicely together 🙂
Your blocks are so great, Rachel! HR and DS play really nicely together 🙂