Yesterday I met Marti Michell, in person and in my home town! What a treat! Marti is currently in New Zealand holding workshops and trunk shows. She is being hosted by Grandmother’s Garden, a quiltshop that is just 15 minutes from where I live. I feel very privileged to have been able to sit down and chat with her. She is so charming! One of the first quilts I ever made used Marti’s hexagons plus template set and I’ve used her templates for many quilts since. Back then I never could’ve imagined that one day I would get a chance to meet her. Don’t you just love the opportunities that quilting can bring! Thank you Marti for taking time out of your busy schedule to chat with me!
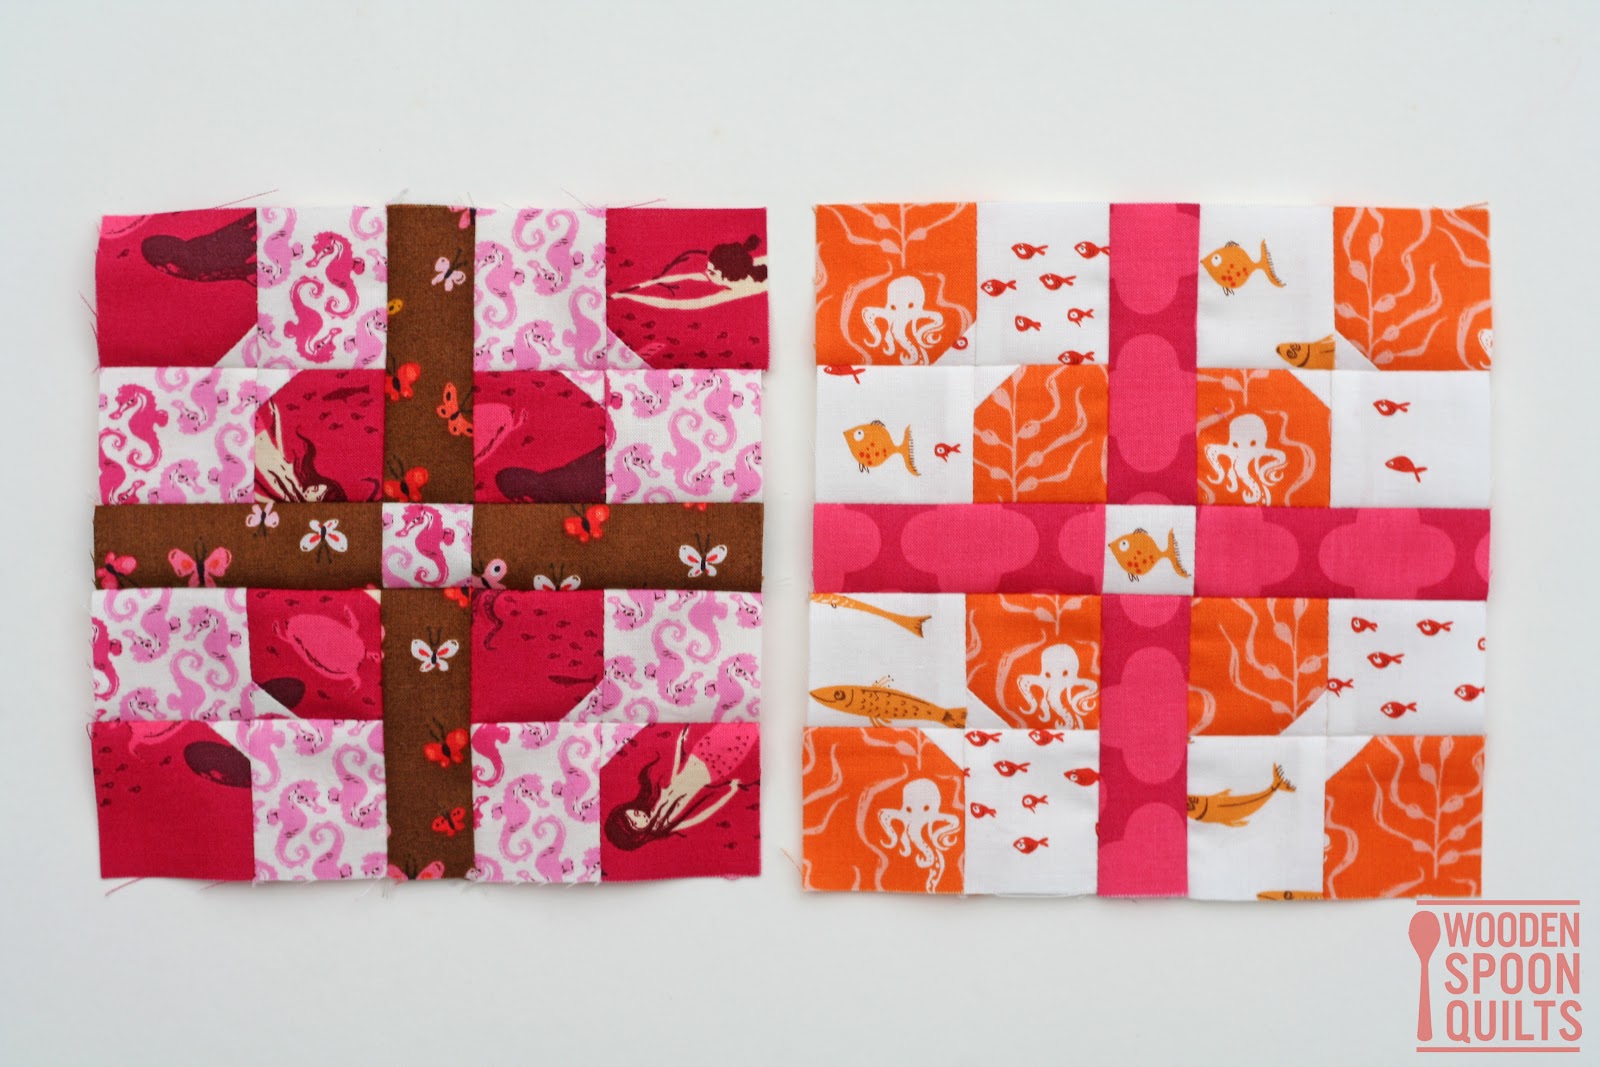
So that was the glamour side of Angie’s 1930s Farmer’s Wife quilt-a-long, now it’s back to the business side! Today I have a block tutorial for you. Block 21, Carrie, looks straightforward, but it’s not quite as easy as it looks! The tricky bit is the non-standard measurements for each piece. I decided the easiest way to go was to foundation paper piece this block. If you have From Marti Michell Perfect Patchwork Templates Set Q you can follow Marti’s directions here to make the block.
I’m using my favourite foundation paper piecing method, with freezer paper as the foundation. This method differs from the more traditional approach to Foundation Paper Piecing as you don’t sew through the paper. Instead you use the magical properties of freezer paper… when you iron fabric to the shiny side of it, the fabric sticks like glue but it can also be peeled away with no side effects. In this method, rather than sew through the paper, the paper is folded back along the seam line and you sew right next to that fold. When you’ve finished the freezer paper is simply peeled off. Which brings me to the my favourite advantage of this method, there are no papers to rip out when the block is finished. And the freezer paper is ready to be used again. For more information, check out the tutorials I’ve done previously using this technique, find them here and here.
What you’ll need;
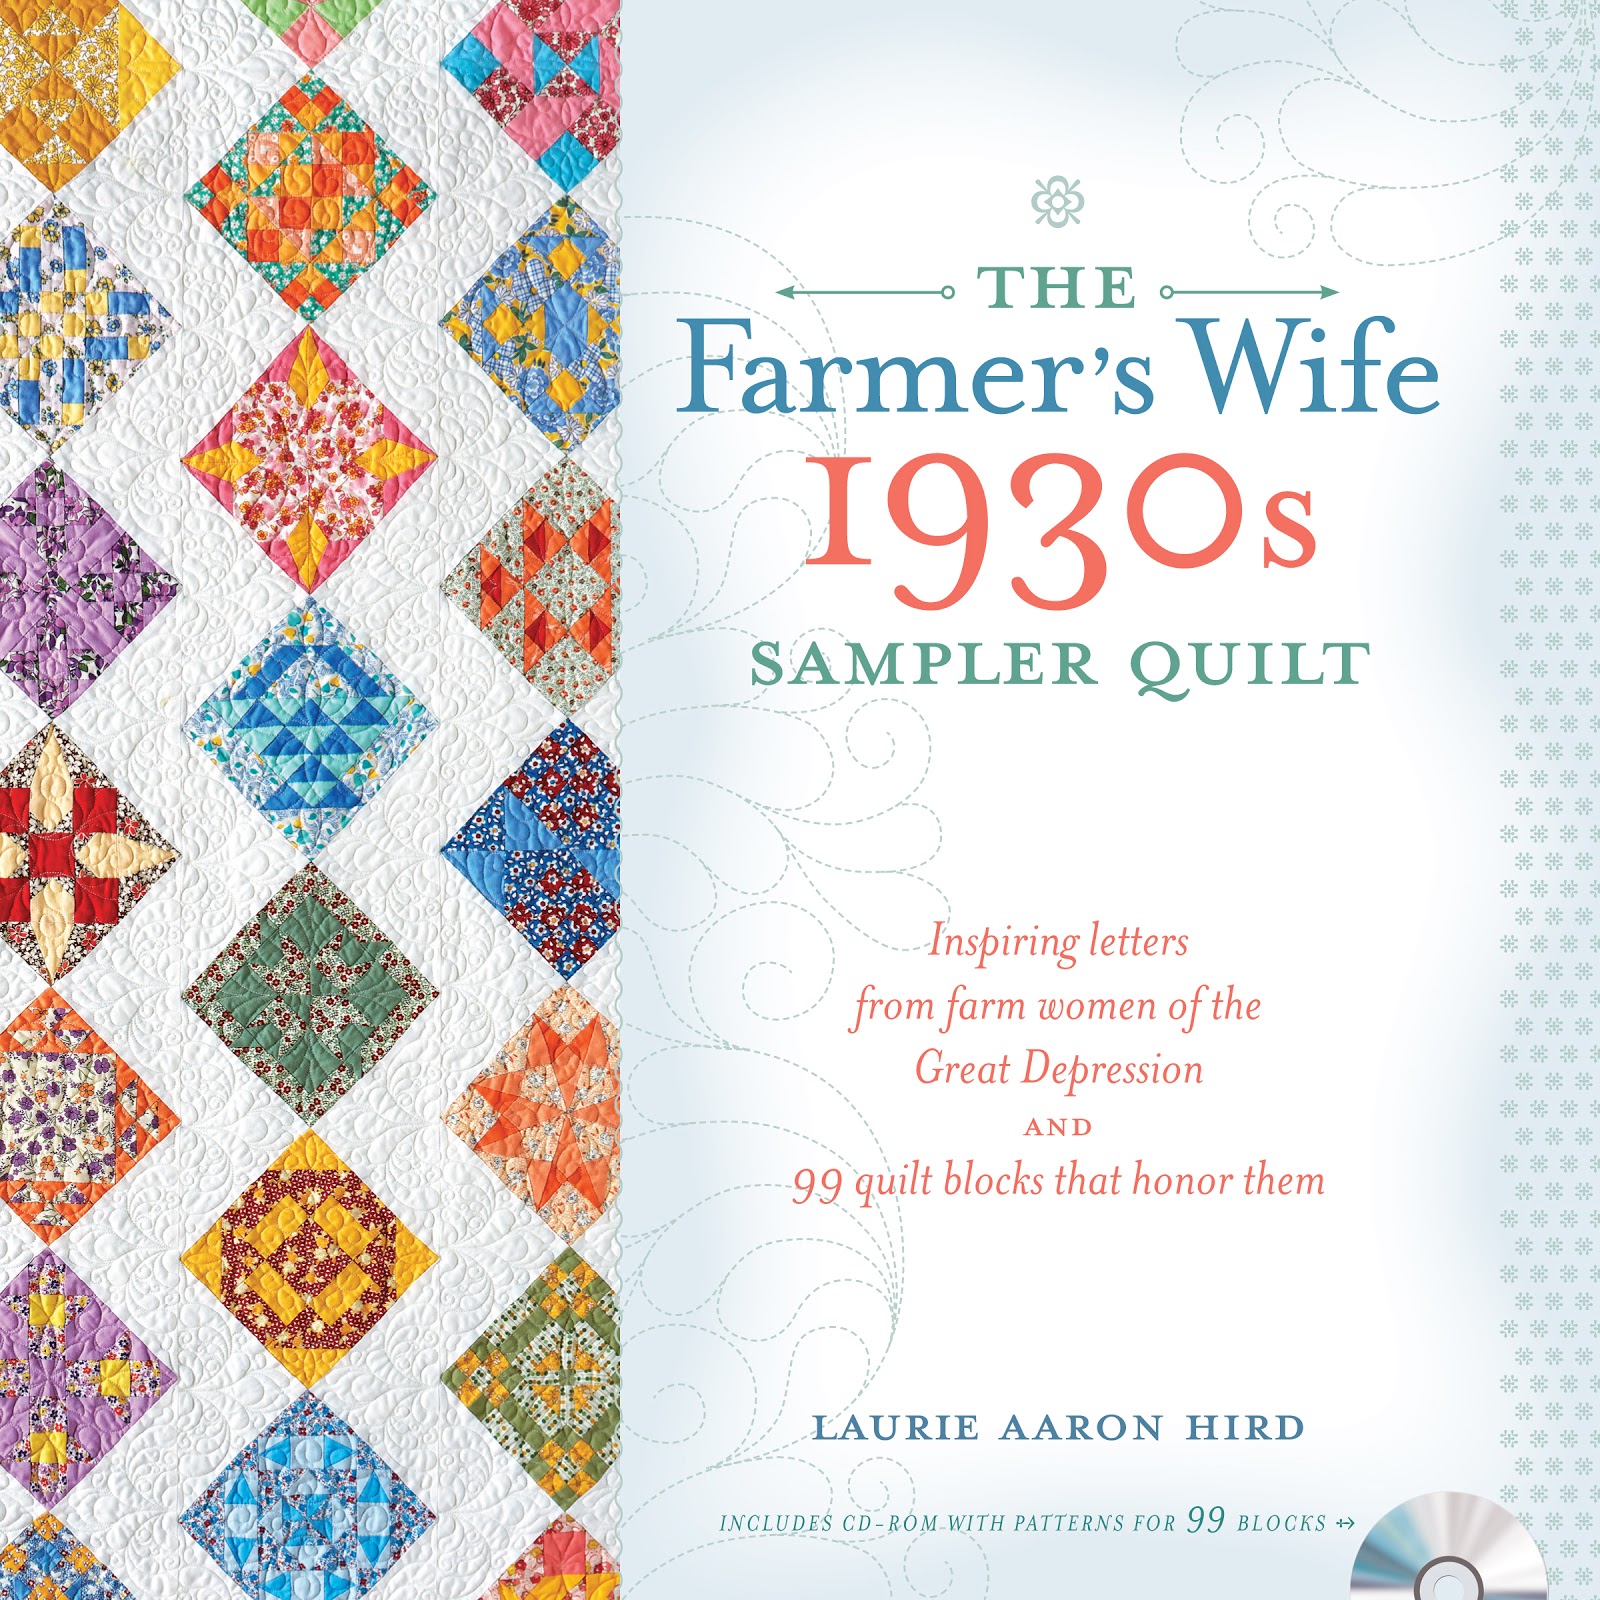
- A copy of the book The Farmer’s Wife 1930s Sampler Quilt: Inspiring Letters from Farm Women of the Great Depression and 99 Quilt Blocks That Honor Them by Laurie Aaron Hird for Fons & Porter/F+W; RRP $28.99 – Click here to purchase.
-
Usual sewing requirements
-
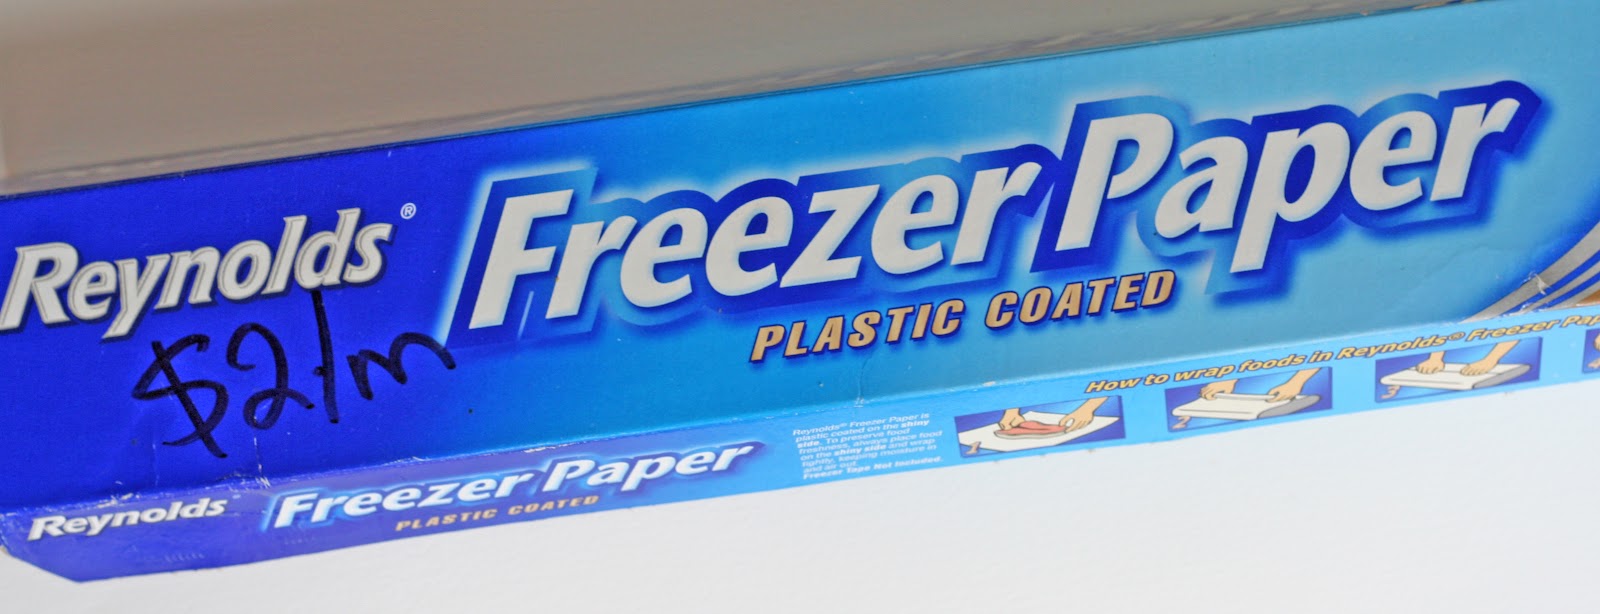
Freezer paper; available in supermarkets in America. In other parts of the world, look for it in your local quilt store. If you’re in Australia or New Zealand your local Spotlight should stock it, it’s also available on Amazon. This is what it looks like;
-
A stapler or washi tape.
Let’s get started…
Step 1: Print the paper piecing pattern pieces for block 21
Step 2: Make freezer paper foundation templates
-
Cut three pieces of freezer paper large enough to cover the template pieces with room to spare.
-
Layer two pieces of freezer paper, (one shiny side down, one shiny side up) behind the pattern print out (choose any of sections B, D, F, G, H or I) .
-
Staple through the three layers (pattern on top) to hold the layers in place.
-
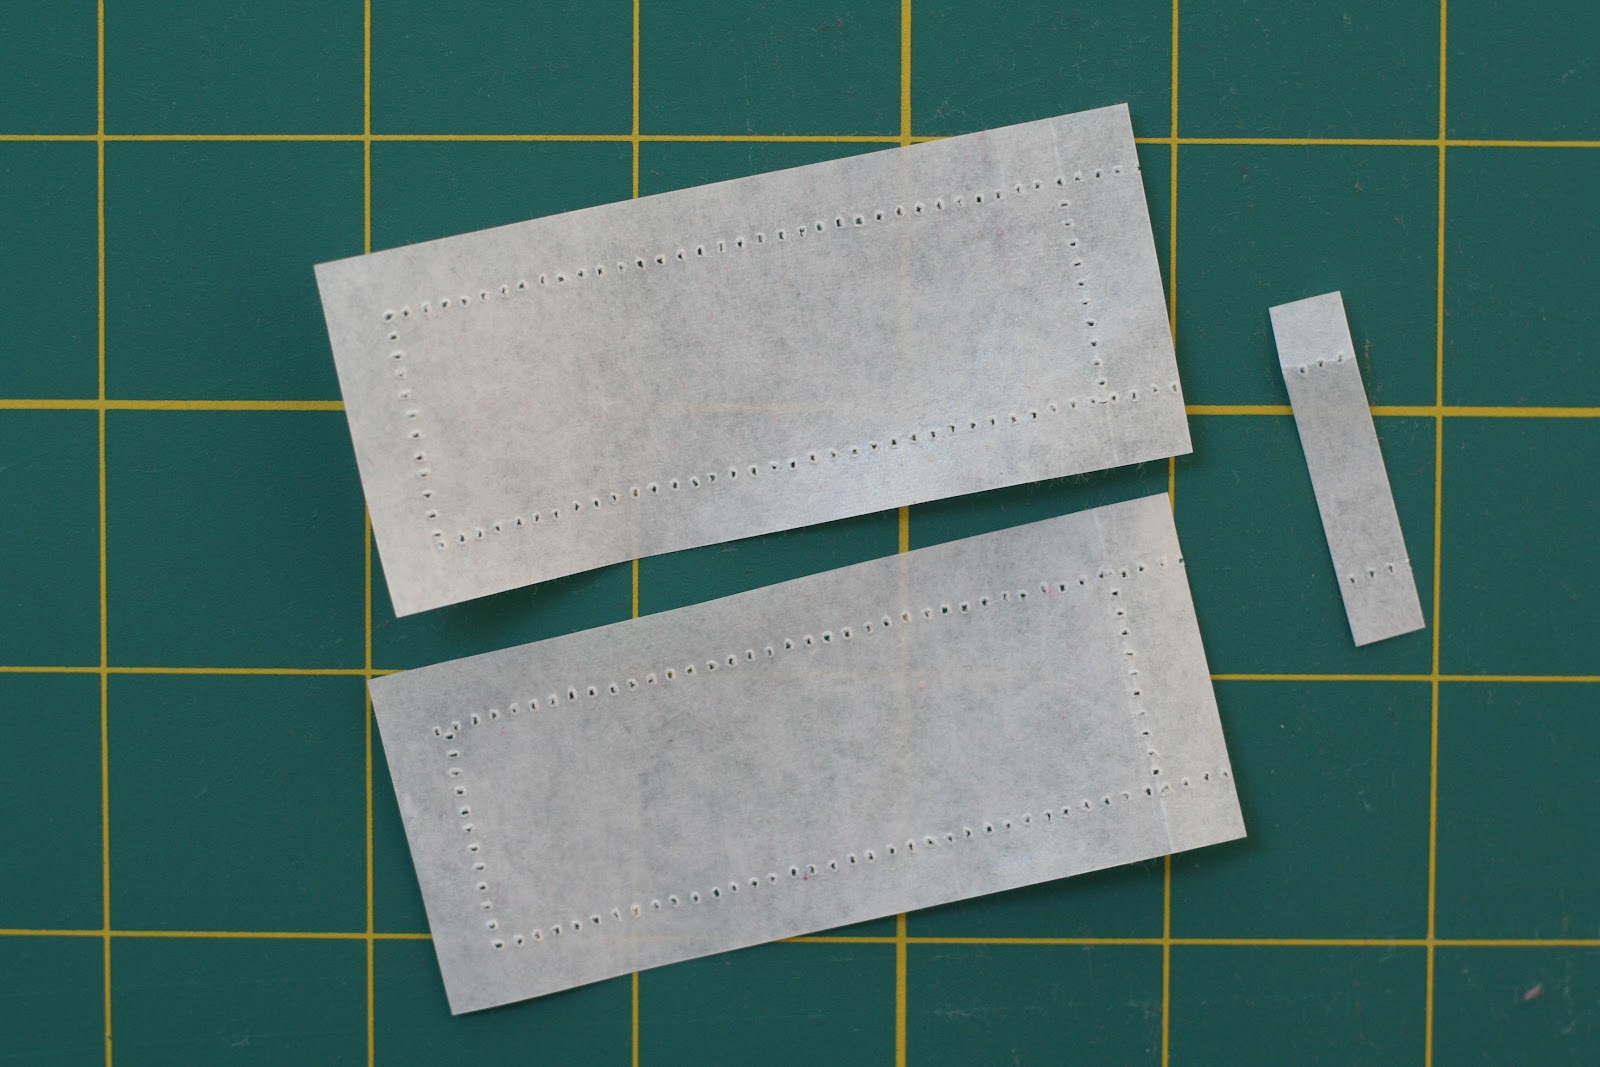
Sew along the template lines with the needle on your sewing machine (remove the thread, you may also like to use an old needle). This gives you perforations along all the seam lines. Note there is no need to sew along the 1/4″ seam line as we’ll add that in the next step.
- Trim back excess freezer paper from your templates. Add the 1/4″ seam allowance at this point by cutting 1/4″ beyond the perforated line using your ruler and rotary cutter.
- Repeat the process using your third piece of freezer paper to create a template for section E
-
Your templates are ready, rethread your machine.

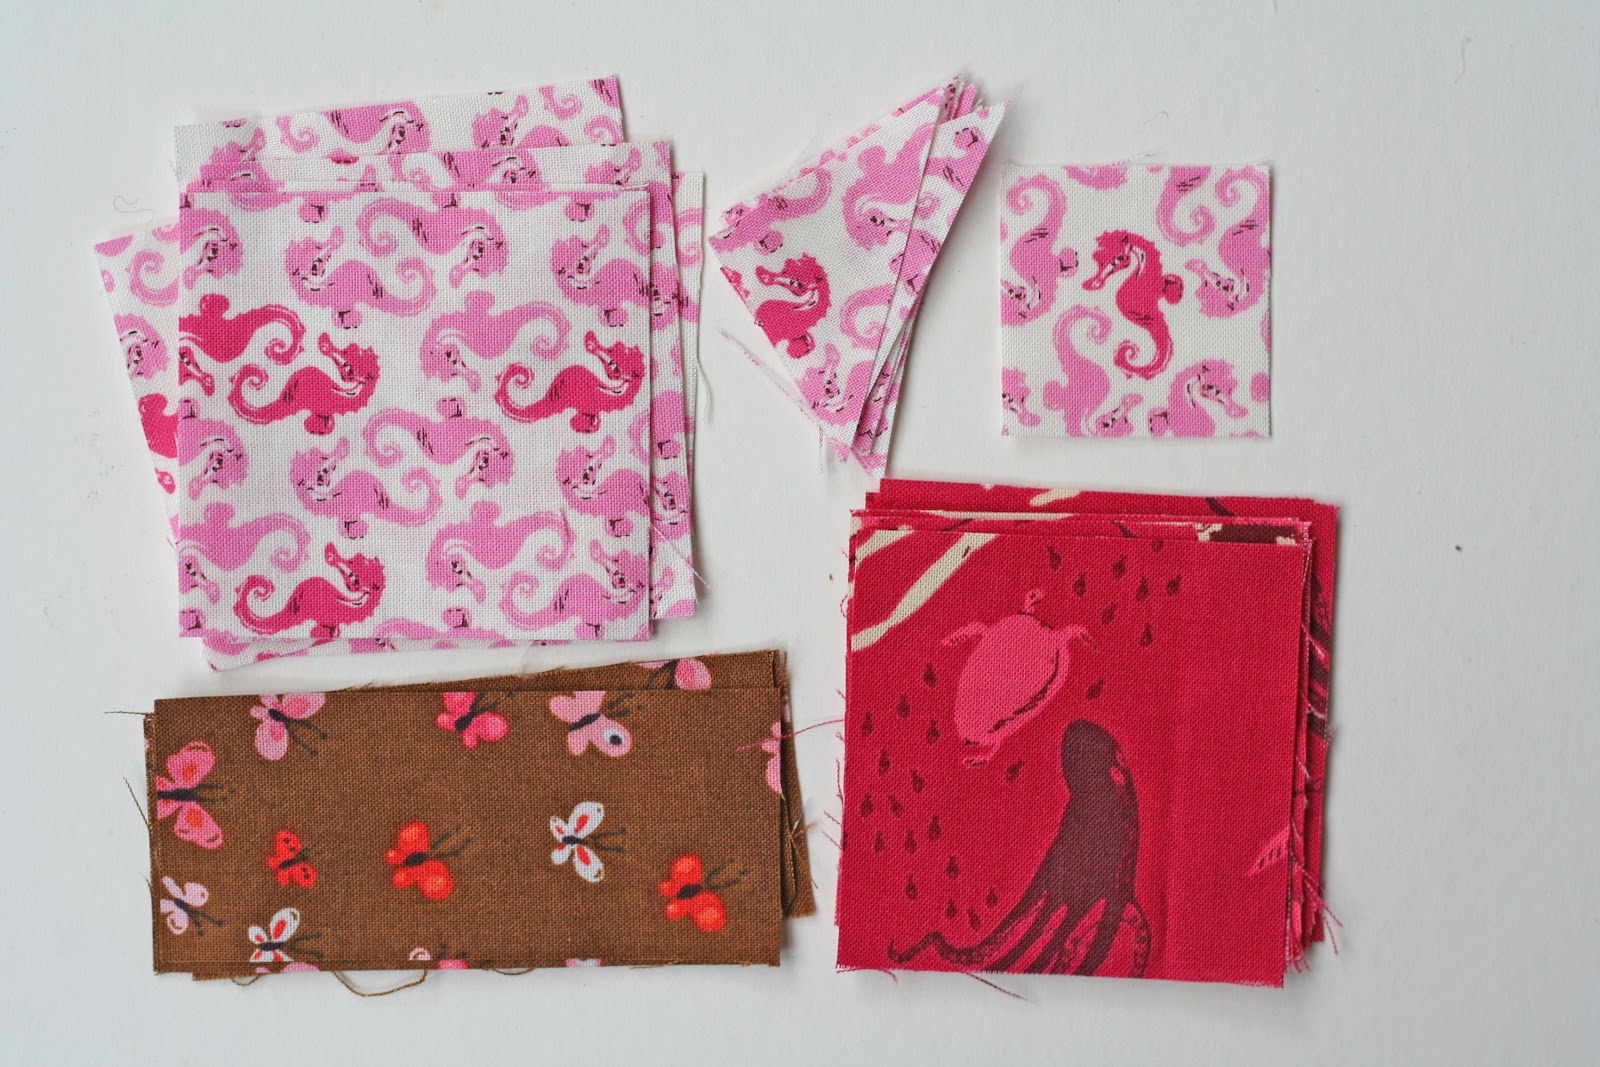
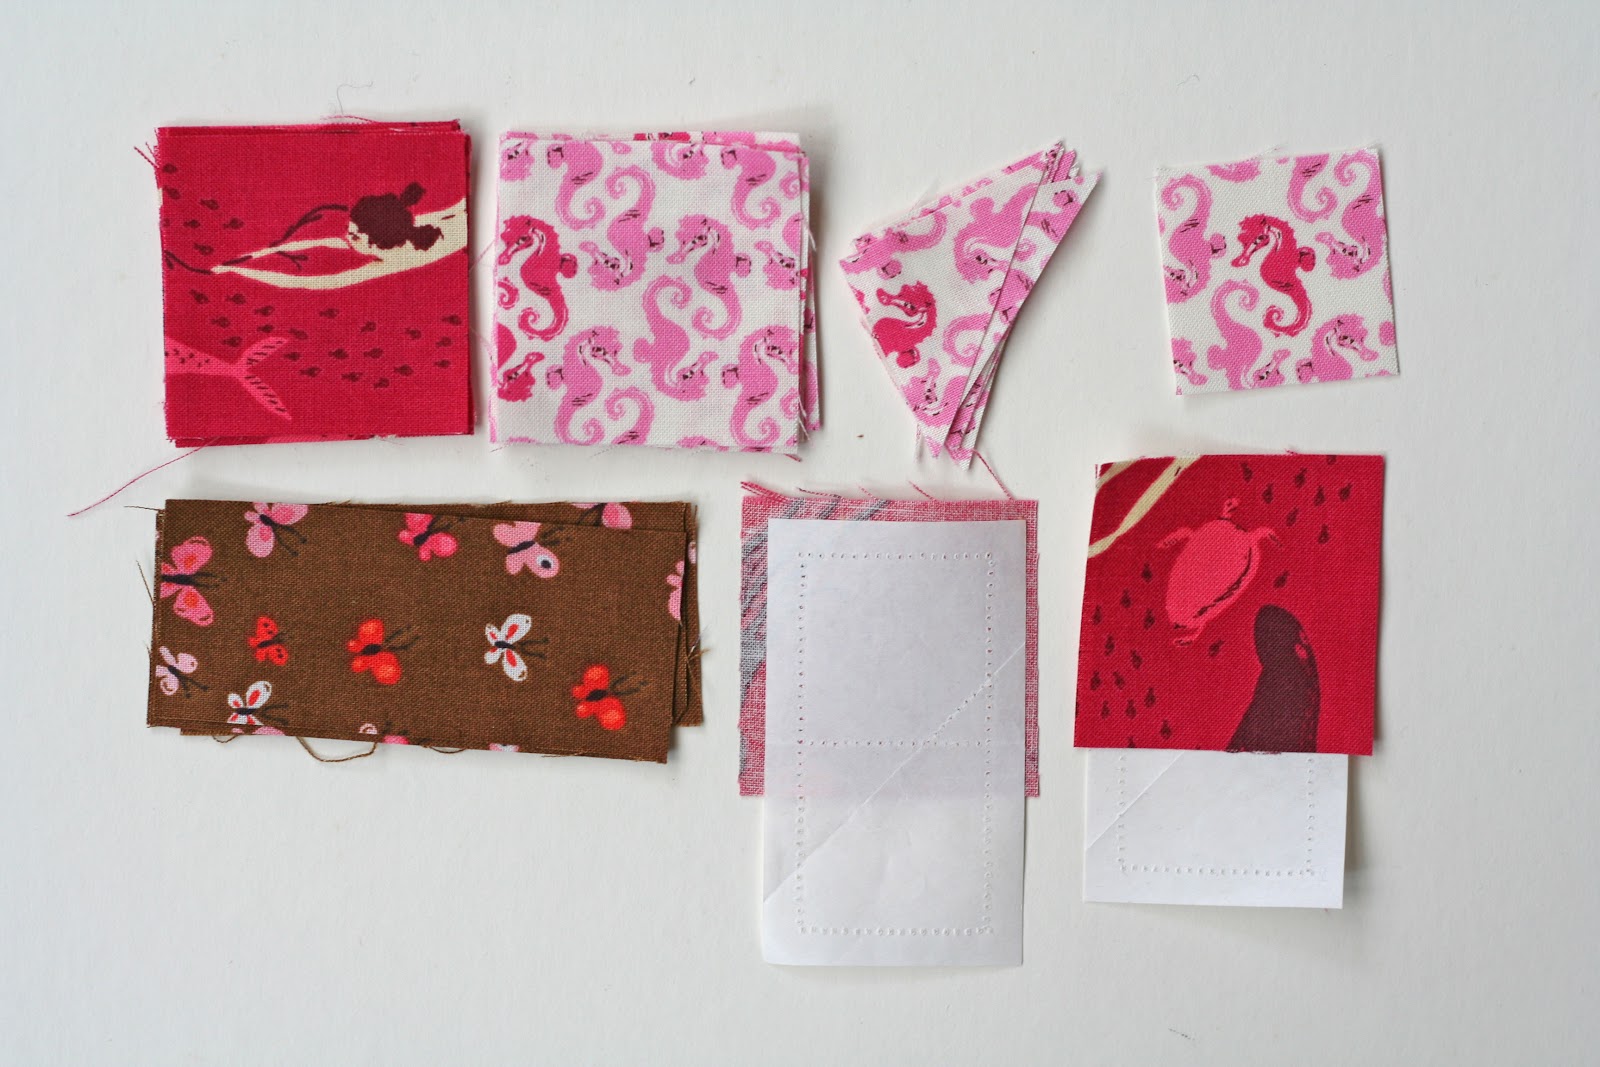
Step 3: Cut fabric
-
For the larger squares cut eight 2″ squares in each colour (these squares are labelled #21D and #21E in the book)
- For the triangles cut four 1 1/2″ squares then cross cut on the diagonal to create the corner triangles (#21A in the book)
- For the centre square cut a 1 1/2″ square (#21B in the book)
- Cut four rectangles 1 1/2″ x 3 1/2″ (#21C in the book)
Step 4: Prepare to sew the first seam
- Iron the first square of dark fabric, wrong side down, to the shiny (sticky) side of your freezer paper templates. Position fabric so that it covers the template allows 1/4″ seam allowance (see below), if you have directional fabric, take note of the direction.
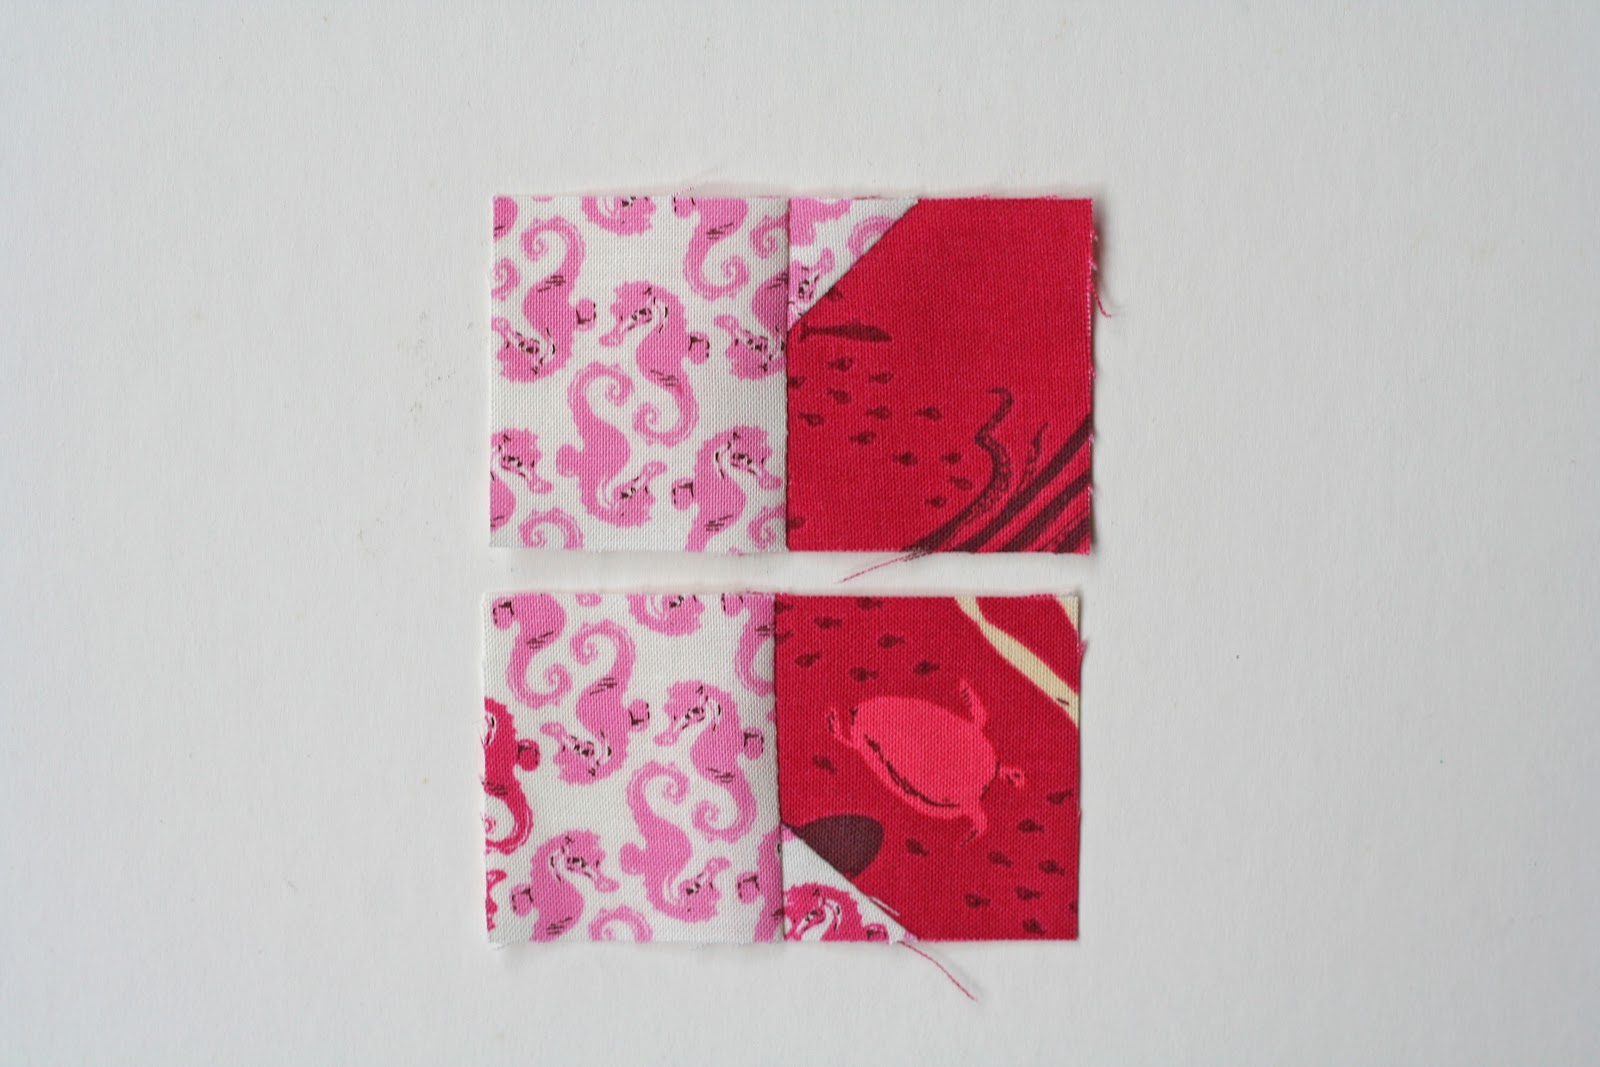
- Fold the template back along the first seam line (this is the diagonal line) and trim excess fabric from that edge so that there is a 1/4″ seam allowance beyond the seam line. I use my rotary cutter and ruler for this step but you could also use scissors.
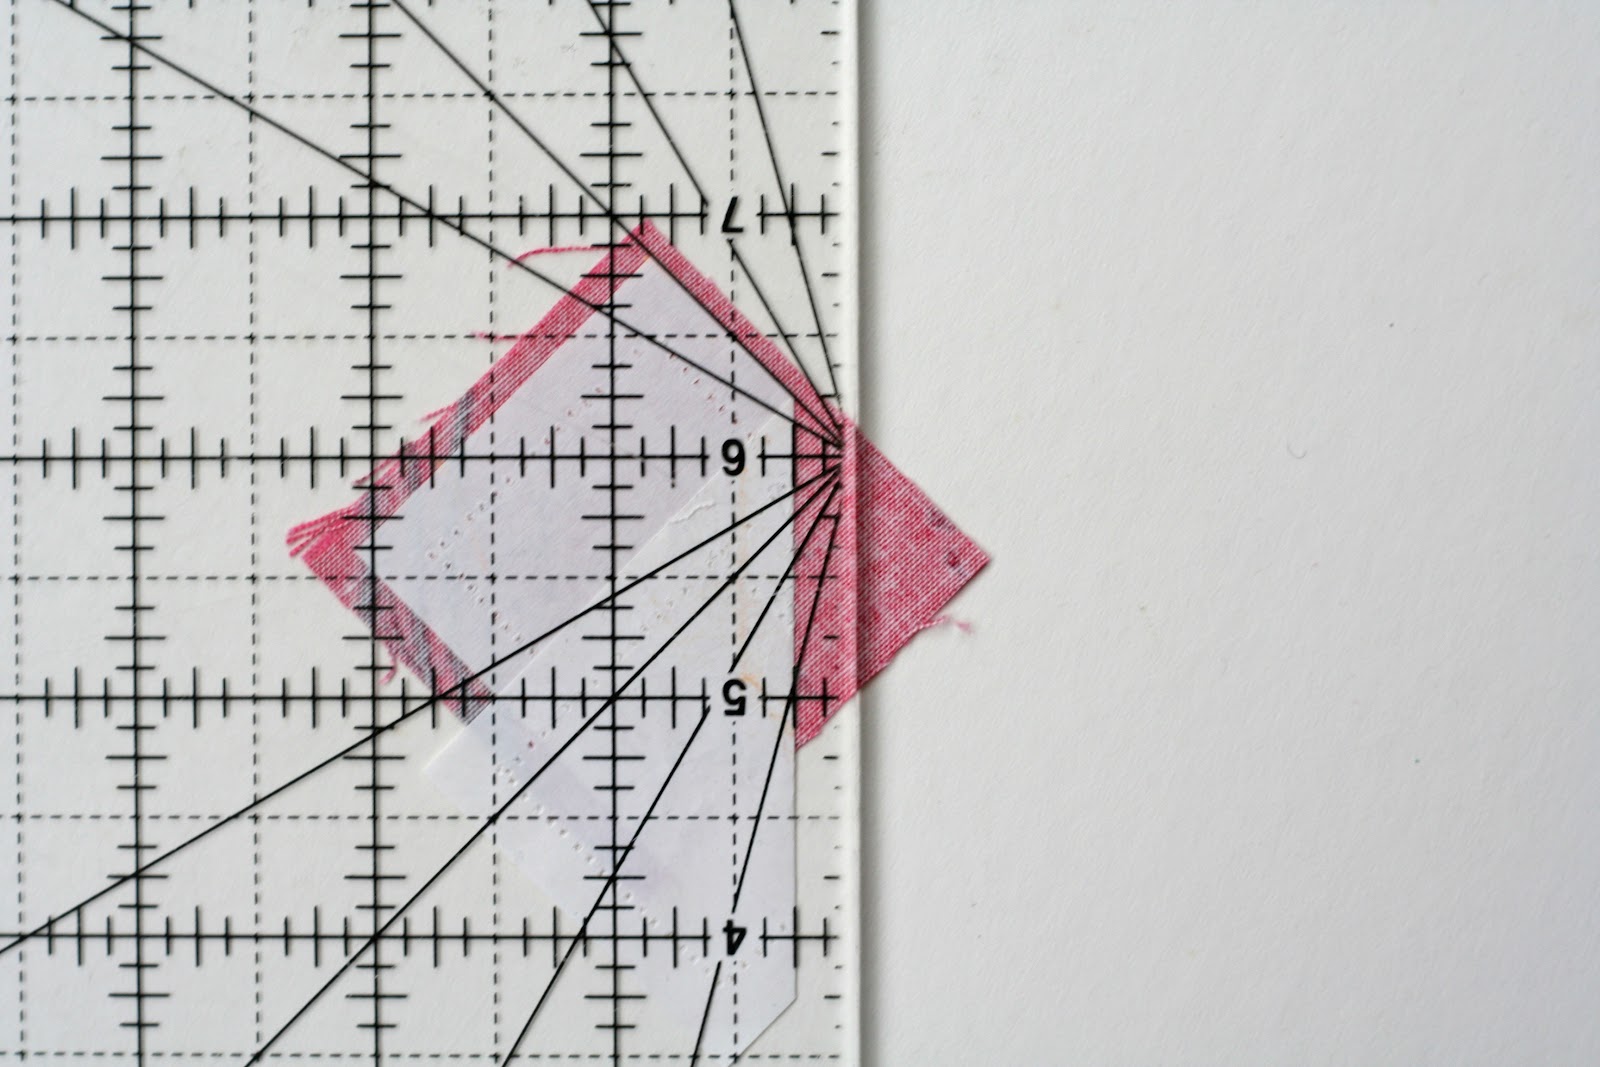
- Line up your triangle fabric piece with this cut edge (wrong sides together). See below.
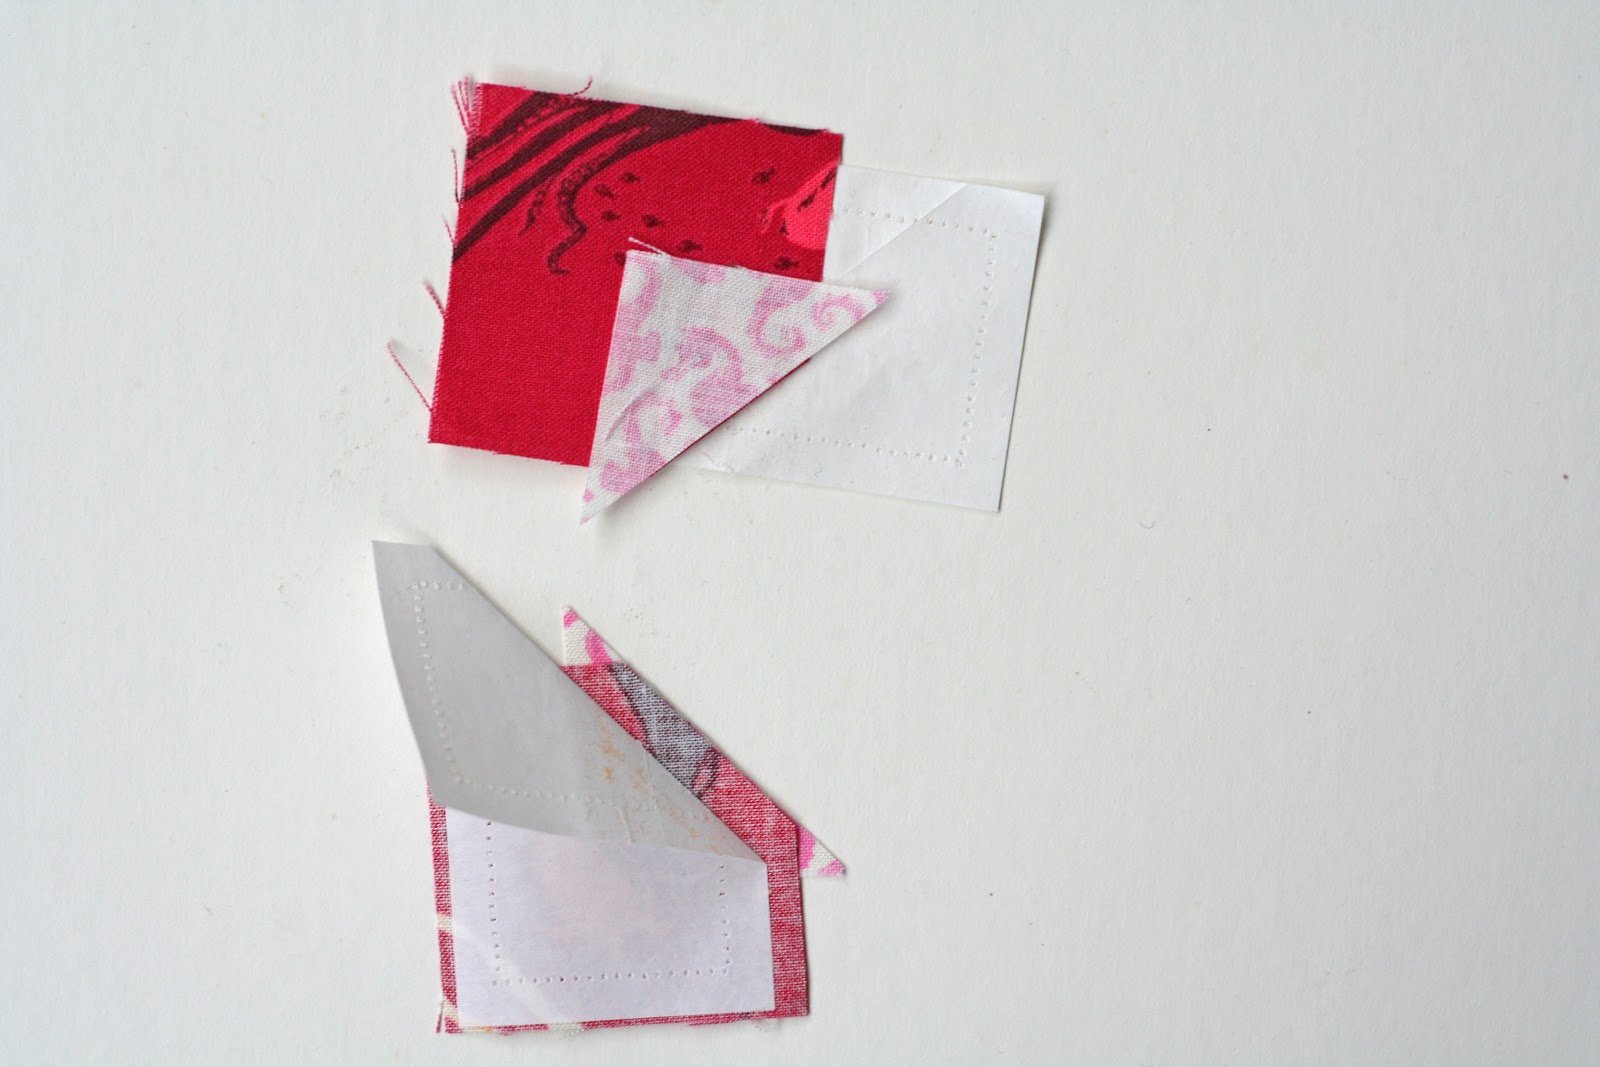
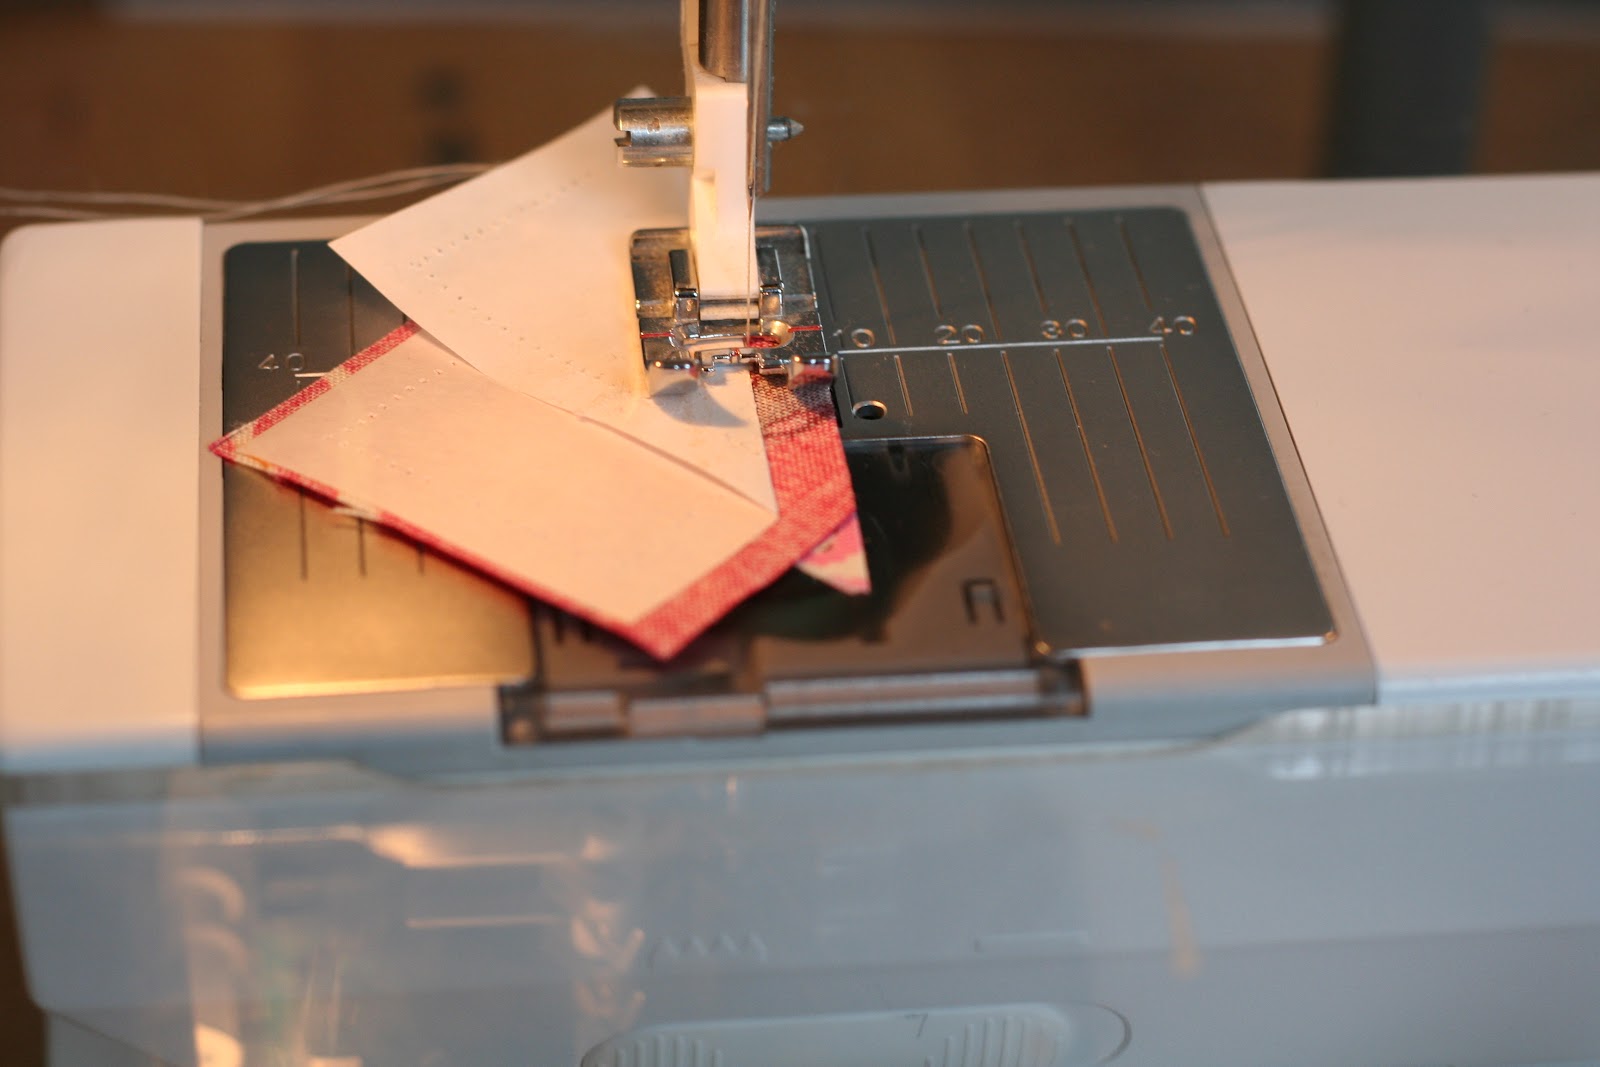
Step 5: Sew first seam
- Keep the freezer paper folded back along the seam line.
- Sew the seam as close as you can get to the paper without sewing over the paper. Use your normal stitch length.
- If you do sew through the paper, don’t worry, just gently pull the freezer paper away from the stitches before the next step (yes, I’ve done this many times!).
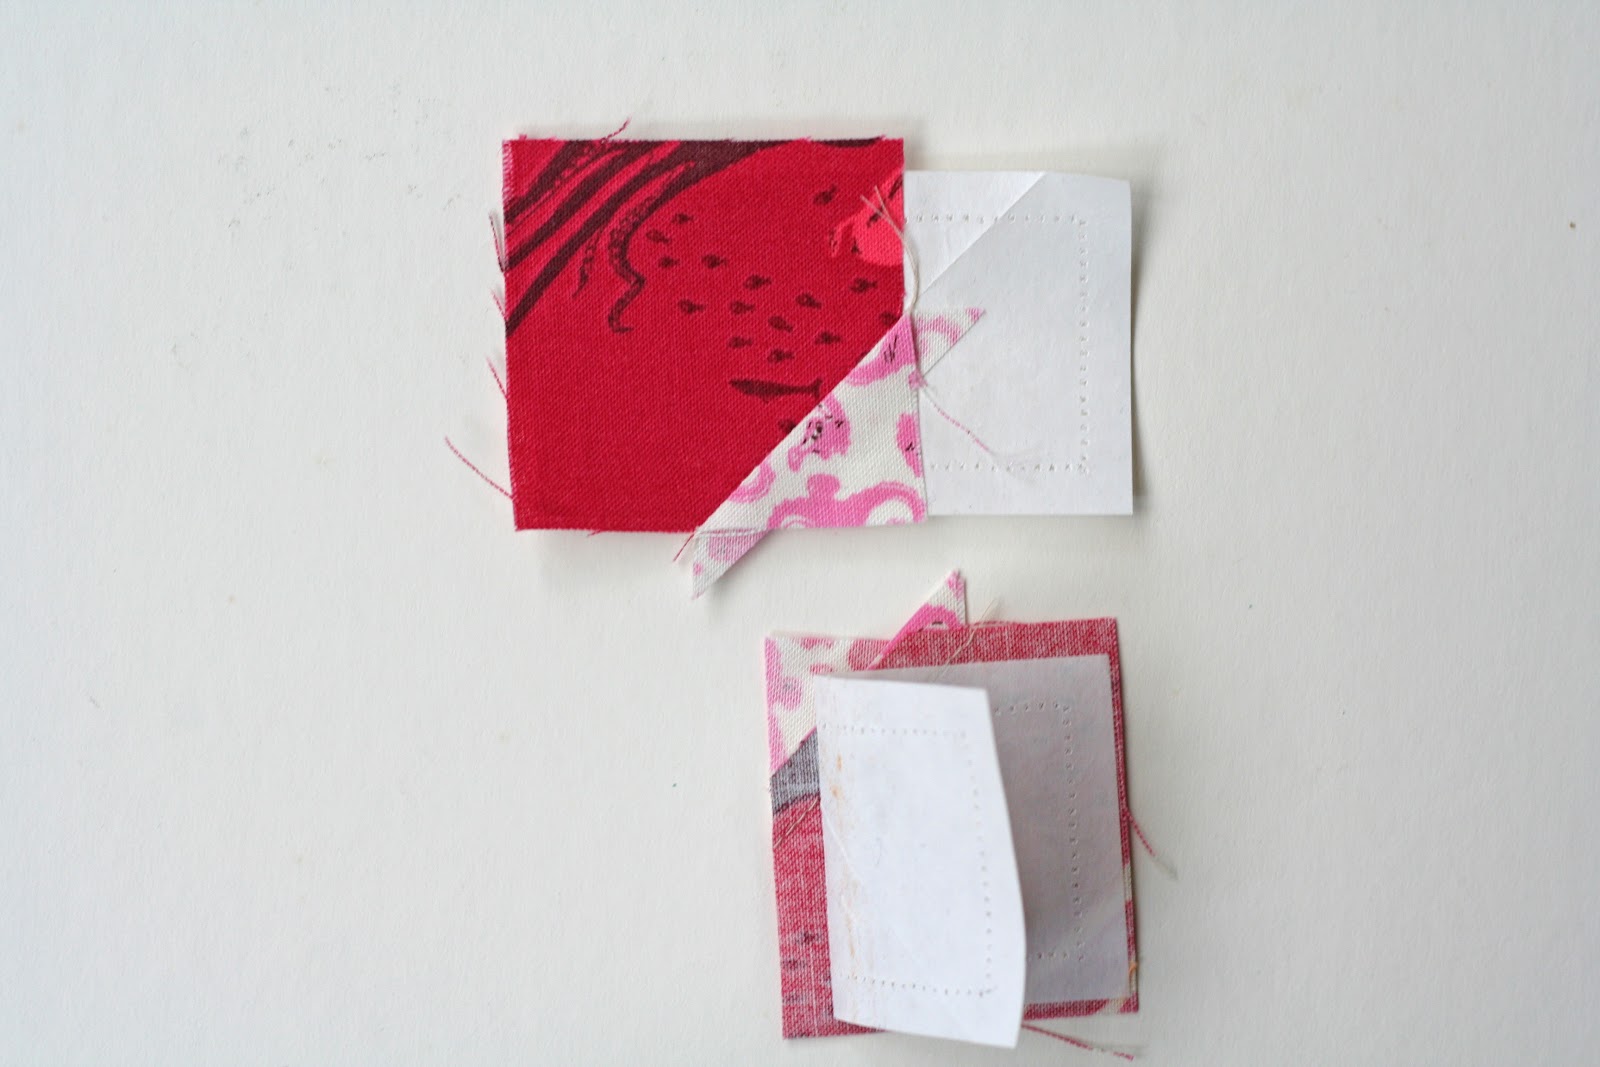
- Iron fabric to the freezer paper as shown below.
- Fold template back along the next seam line and trim seam allowance to 1/4″ as shown below.
You’re now ready to sew the second seam.
Step 6: Sew second seam
- With wrong sides together, line up the light coloured square with the seam line and again, sew as close as you can get to the paper without sewing through the paper.
Step 7: Finish pieces
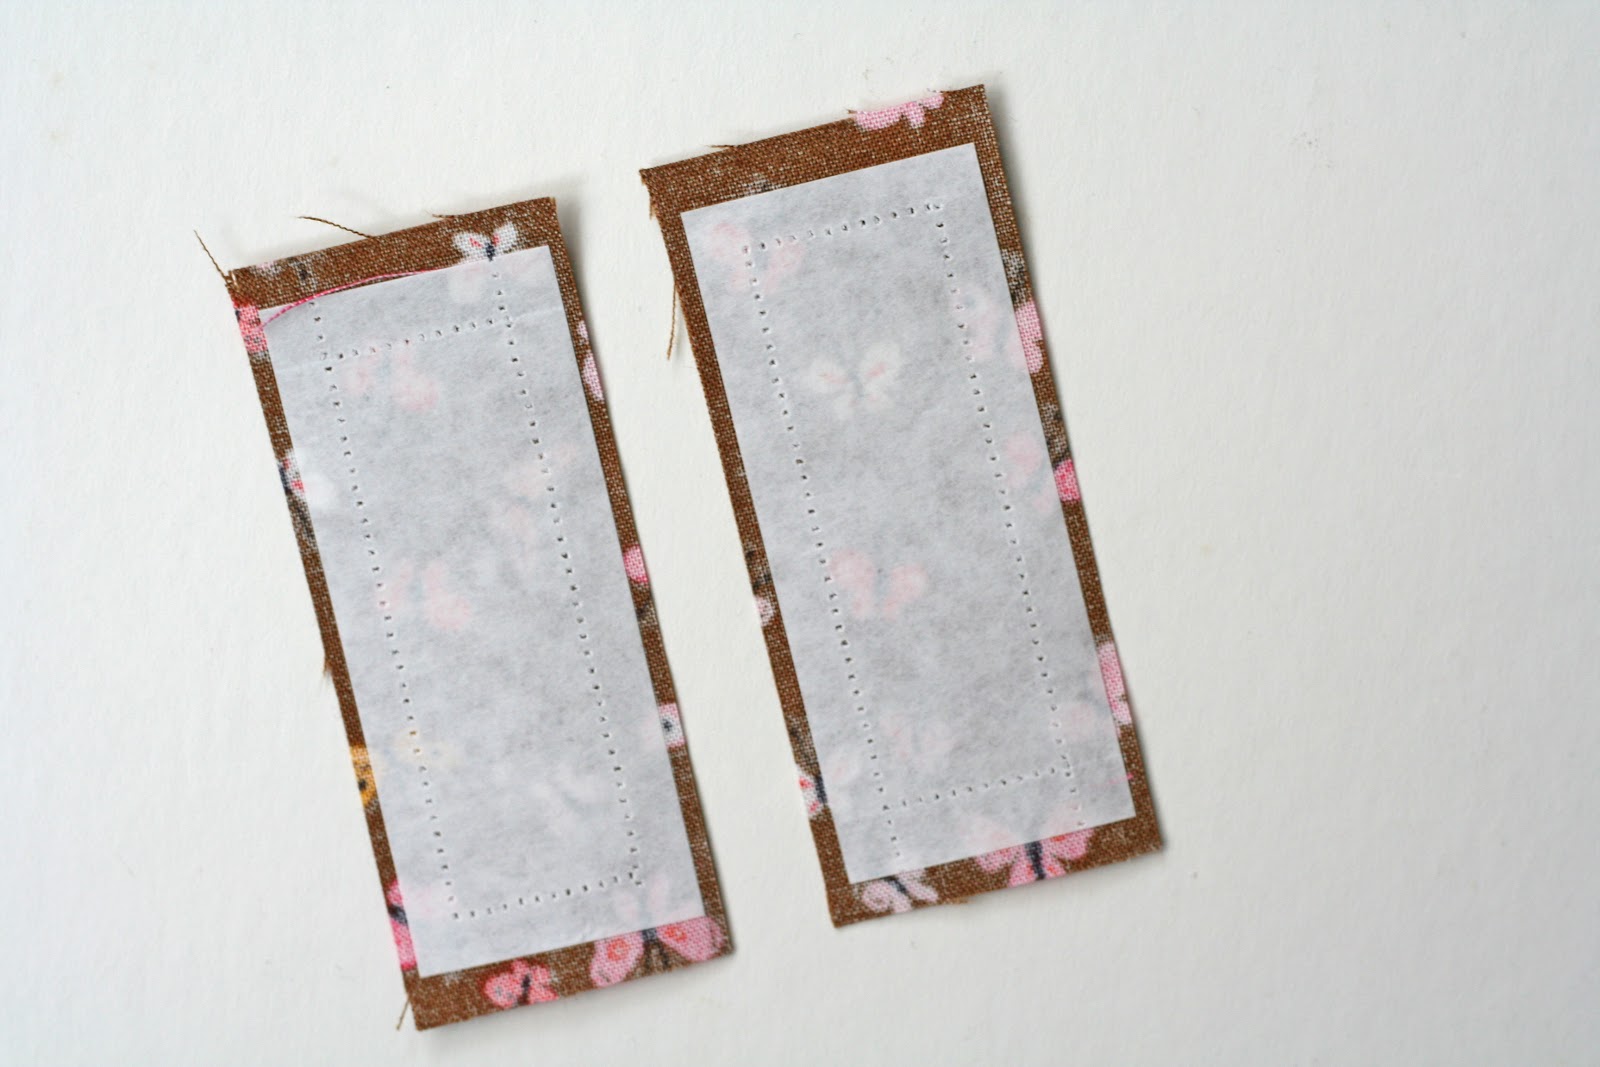
- Iron fabric to the freezer paper.
- Trim excess fabric from all edges, using the freezer paper as a guide.
- Gently remove freezer paper by peeling away from fabric.
Step 8: Repeat for remaining pieced sections
Repeat above process starting from Step 4, re-using the templates, until you have made all eight pieced sections. Repeat the same process to piece the middle strip (section E).
Step 9: Create rectangle sections
For the remaining two rectangle sections that don’t requiring piecing, I simply trimmed the freezer paper template for Section E so that I had a template for just the rectangles. Iron these templates to your fabric and use as a guide when cutting.
Step 10: Sew block together
- Lay all the sections out as per block layout.
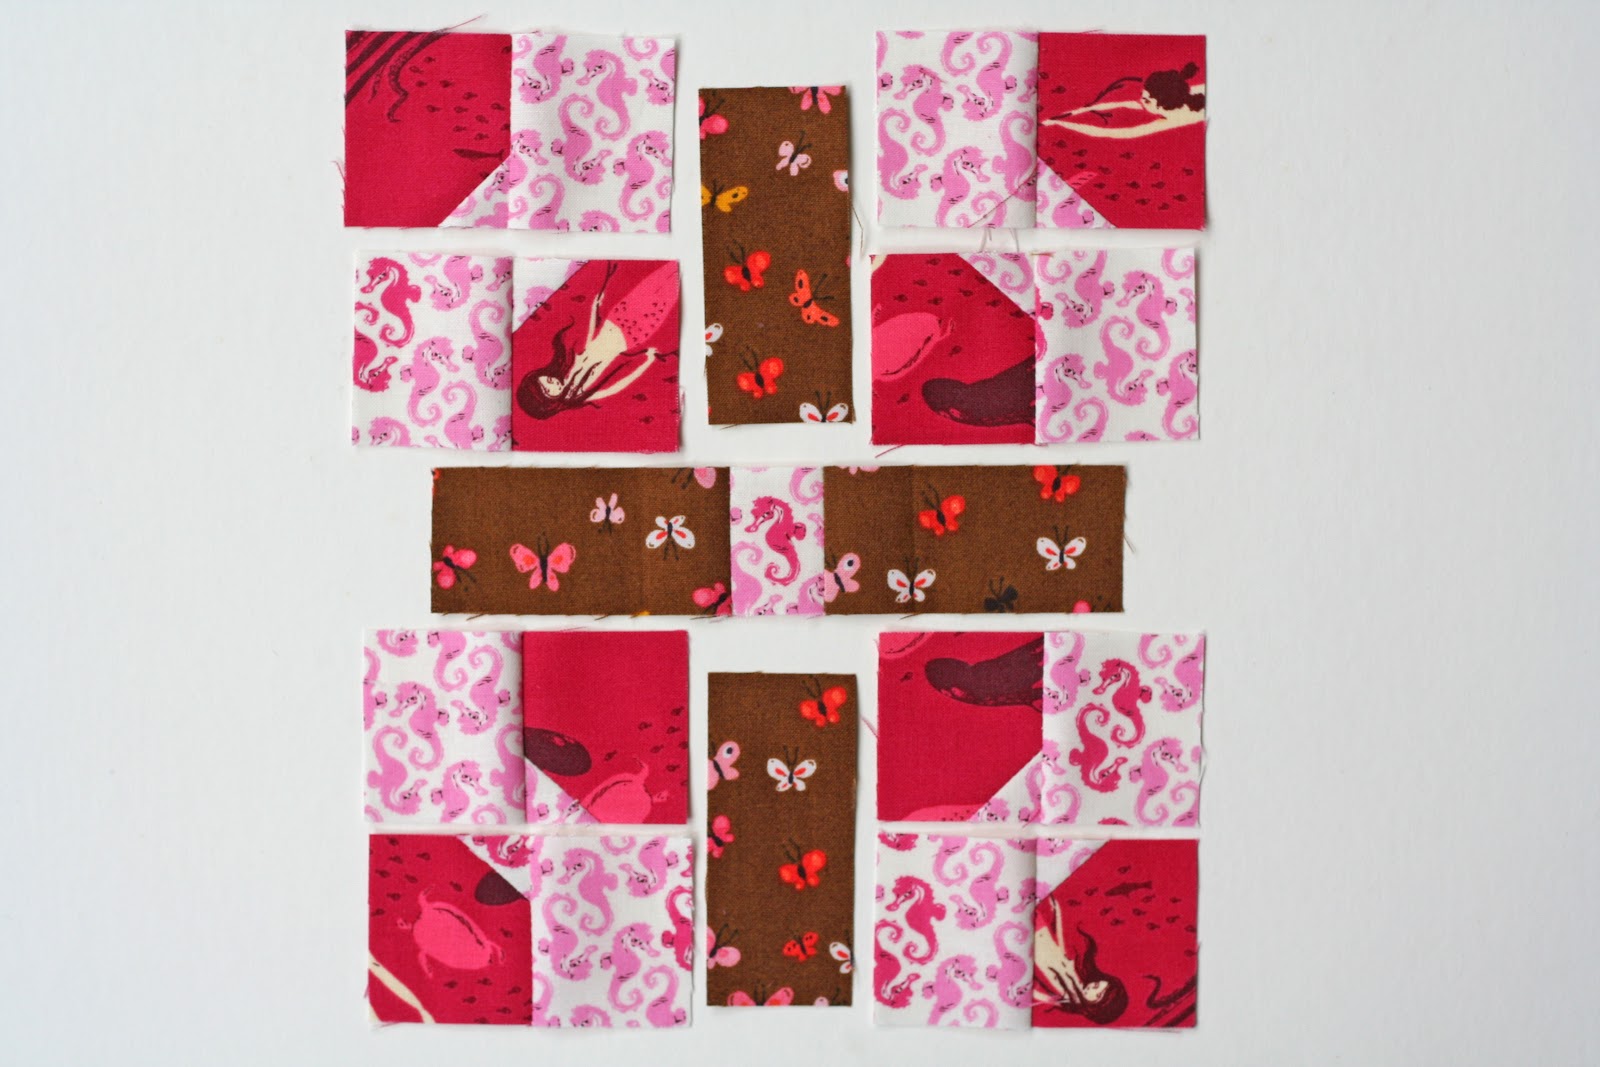
- Sew pieces together, following the directions on the pattern.
Step 11: Finished block!
Hooray, we’re done! Stand back and admire your handy work! Don’t forget to share on Instagram (using #FQS1930farmerswife and #fw21carrie), in the Flickr group and/or Facebook!
- 28/06/2016: Angie @ GnomeAngel.com & Marti @ Marti Michell
- 30/06/2016: Tina @ Emily Ann’s Closet
- 05/07/2016: Angie @ GnomeAngel.com & Marti @ Marti Michell
- 07/07/2016: Rachel @ Wooden Spoon Quilts — You are here!
- 12/07/2016: Angie @ GnomeAngel.com & Marti @ Marti Michell
- 14/07/2016: Peta @ She Quilts Alot
- 19/07/2016: Angie @ GnomeAngel.com & Marti @ Marti Michell
- 21/07/2016: Kirsty @ Bonjour Quilts
- 26/07/2016: Angie @ GnomeAngel.com & Marti @ Marti Michell
- 28/07/2016: Nadra @ Ellis and Higgs
One thought to “Carrie Tutorial: Block 21 in the Farmer’s Wife 1930s Sewalong”
So envious that you got to met Marti in person. Also didn't know you had a history with her templates – that's so fabulous! Thanks for another wonderful tutorial and those blocks are just FABULOUS! <3